Hello everyone, I am sad to announce that this will be my last post with Cricut DIVA. I have had some exciting changes in my life that will result in the loss of my craftroom, my husband and I are expecting our second child in February. I hope you have enjoyed my posts and I have inspired you to be creative.
Now that we have our second child on the way I have been trying to work on my daughters first year before our second one arrives. Here I have focused on the first bath.
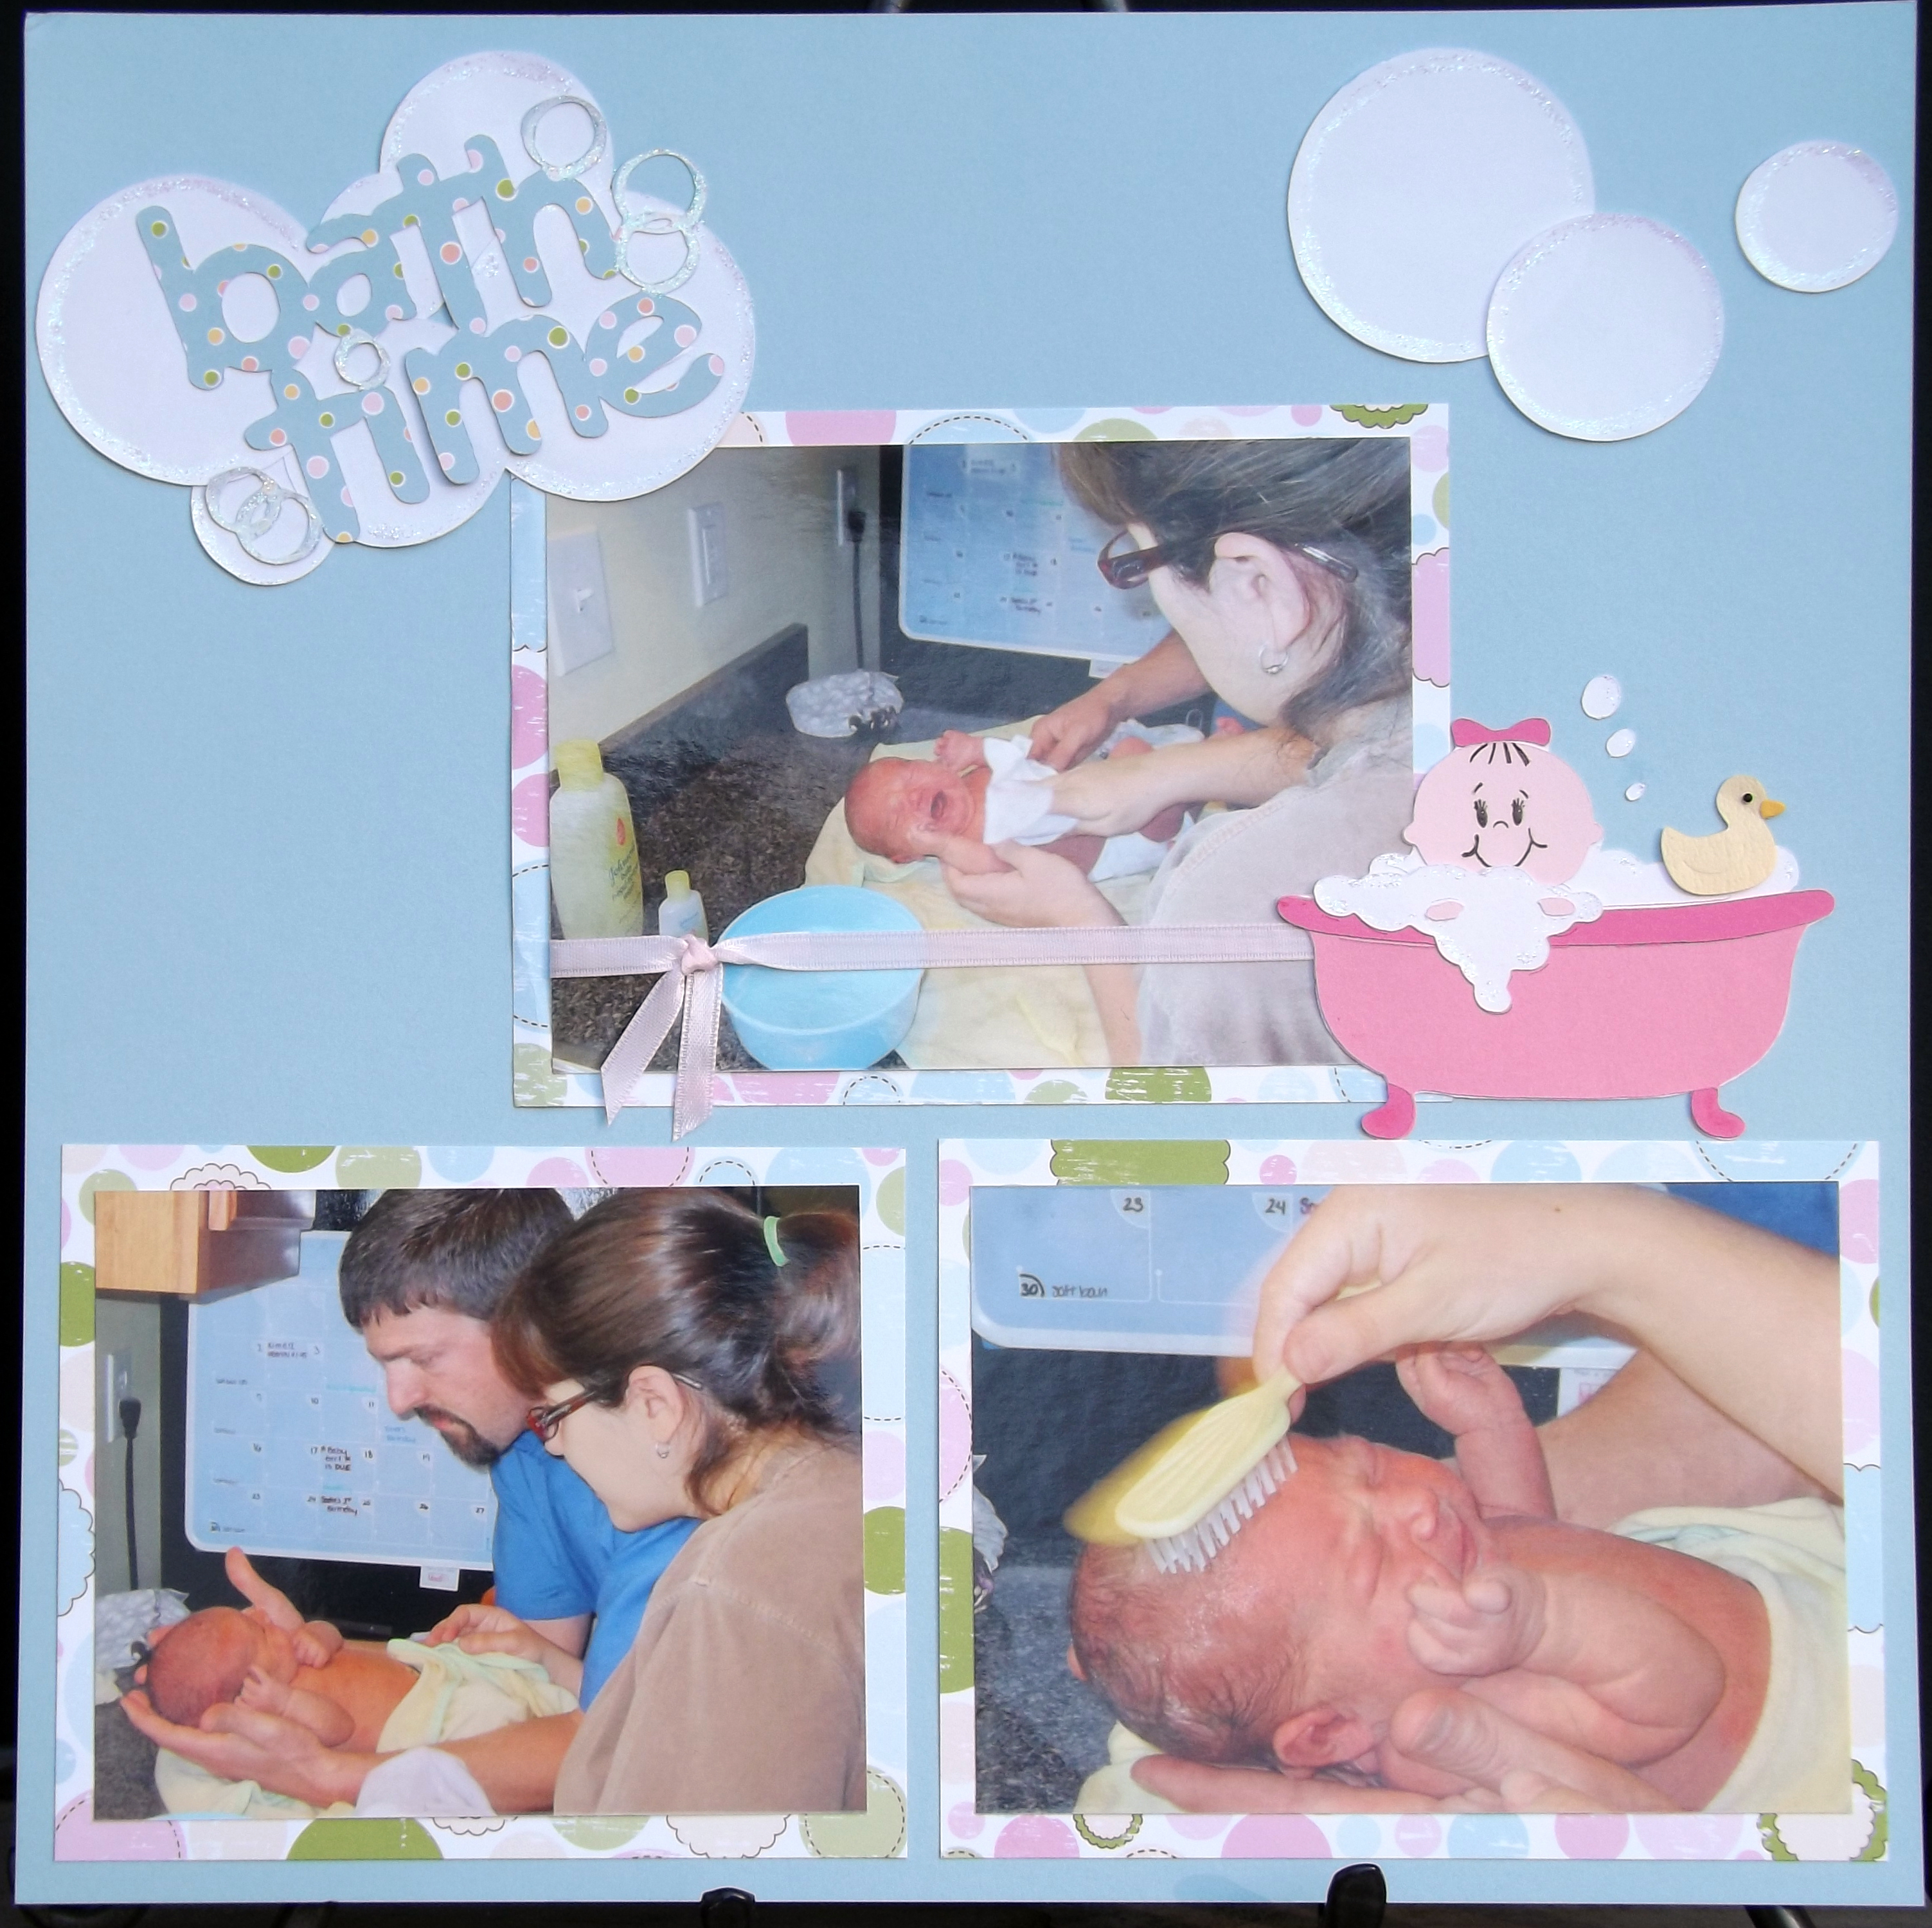
Bath Time Page 1
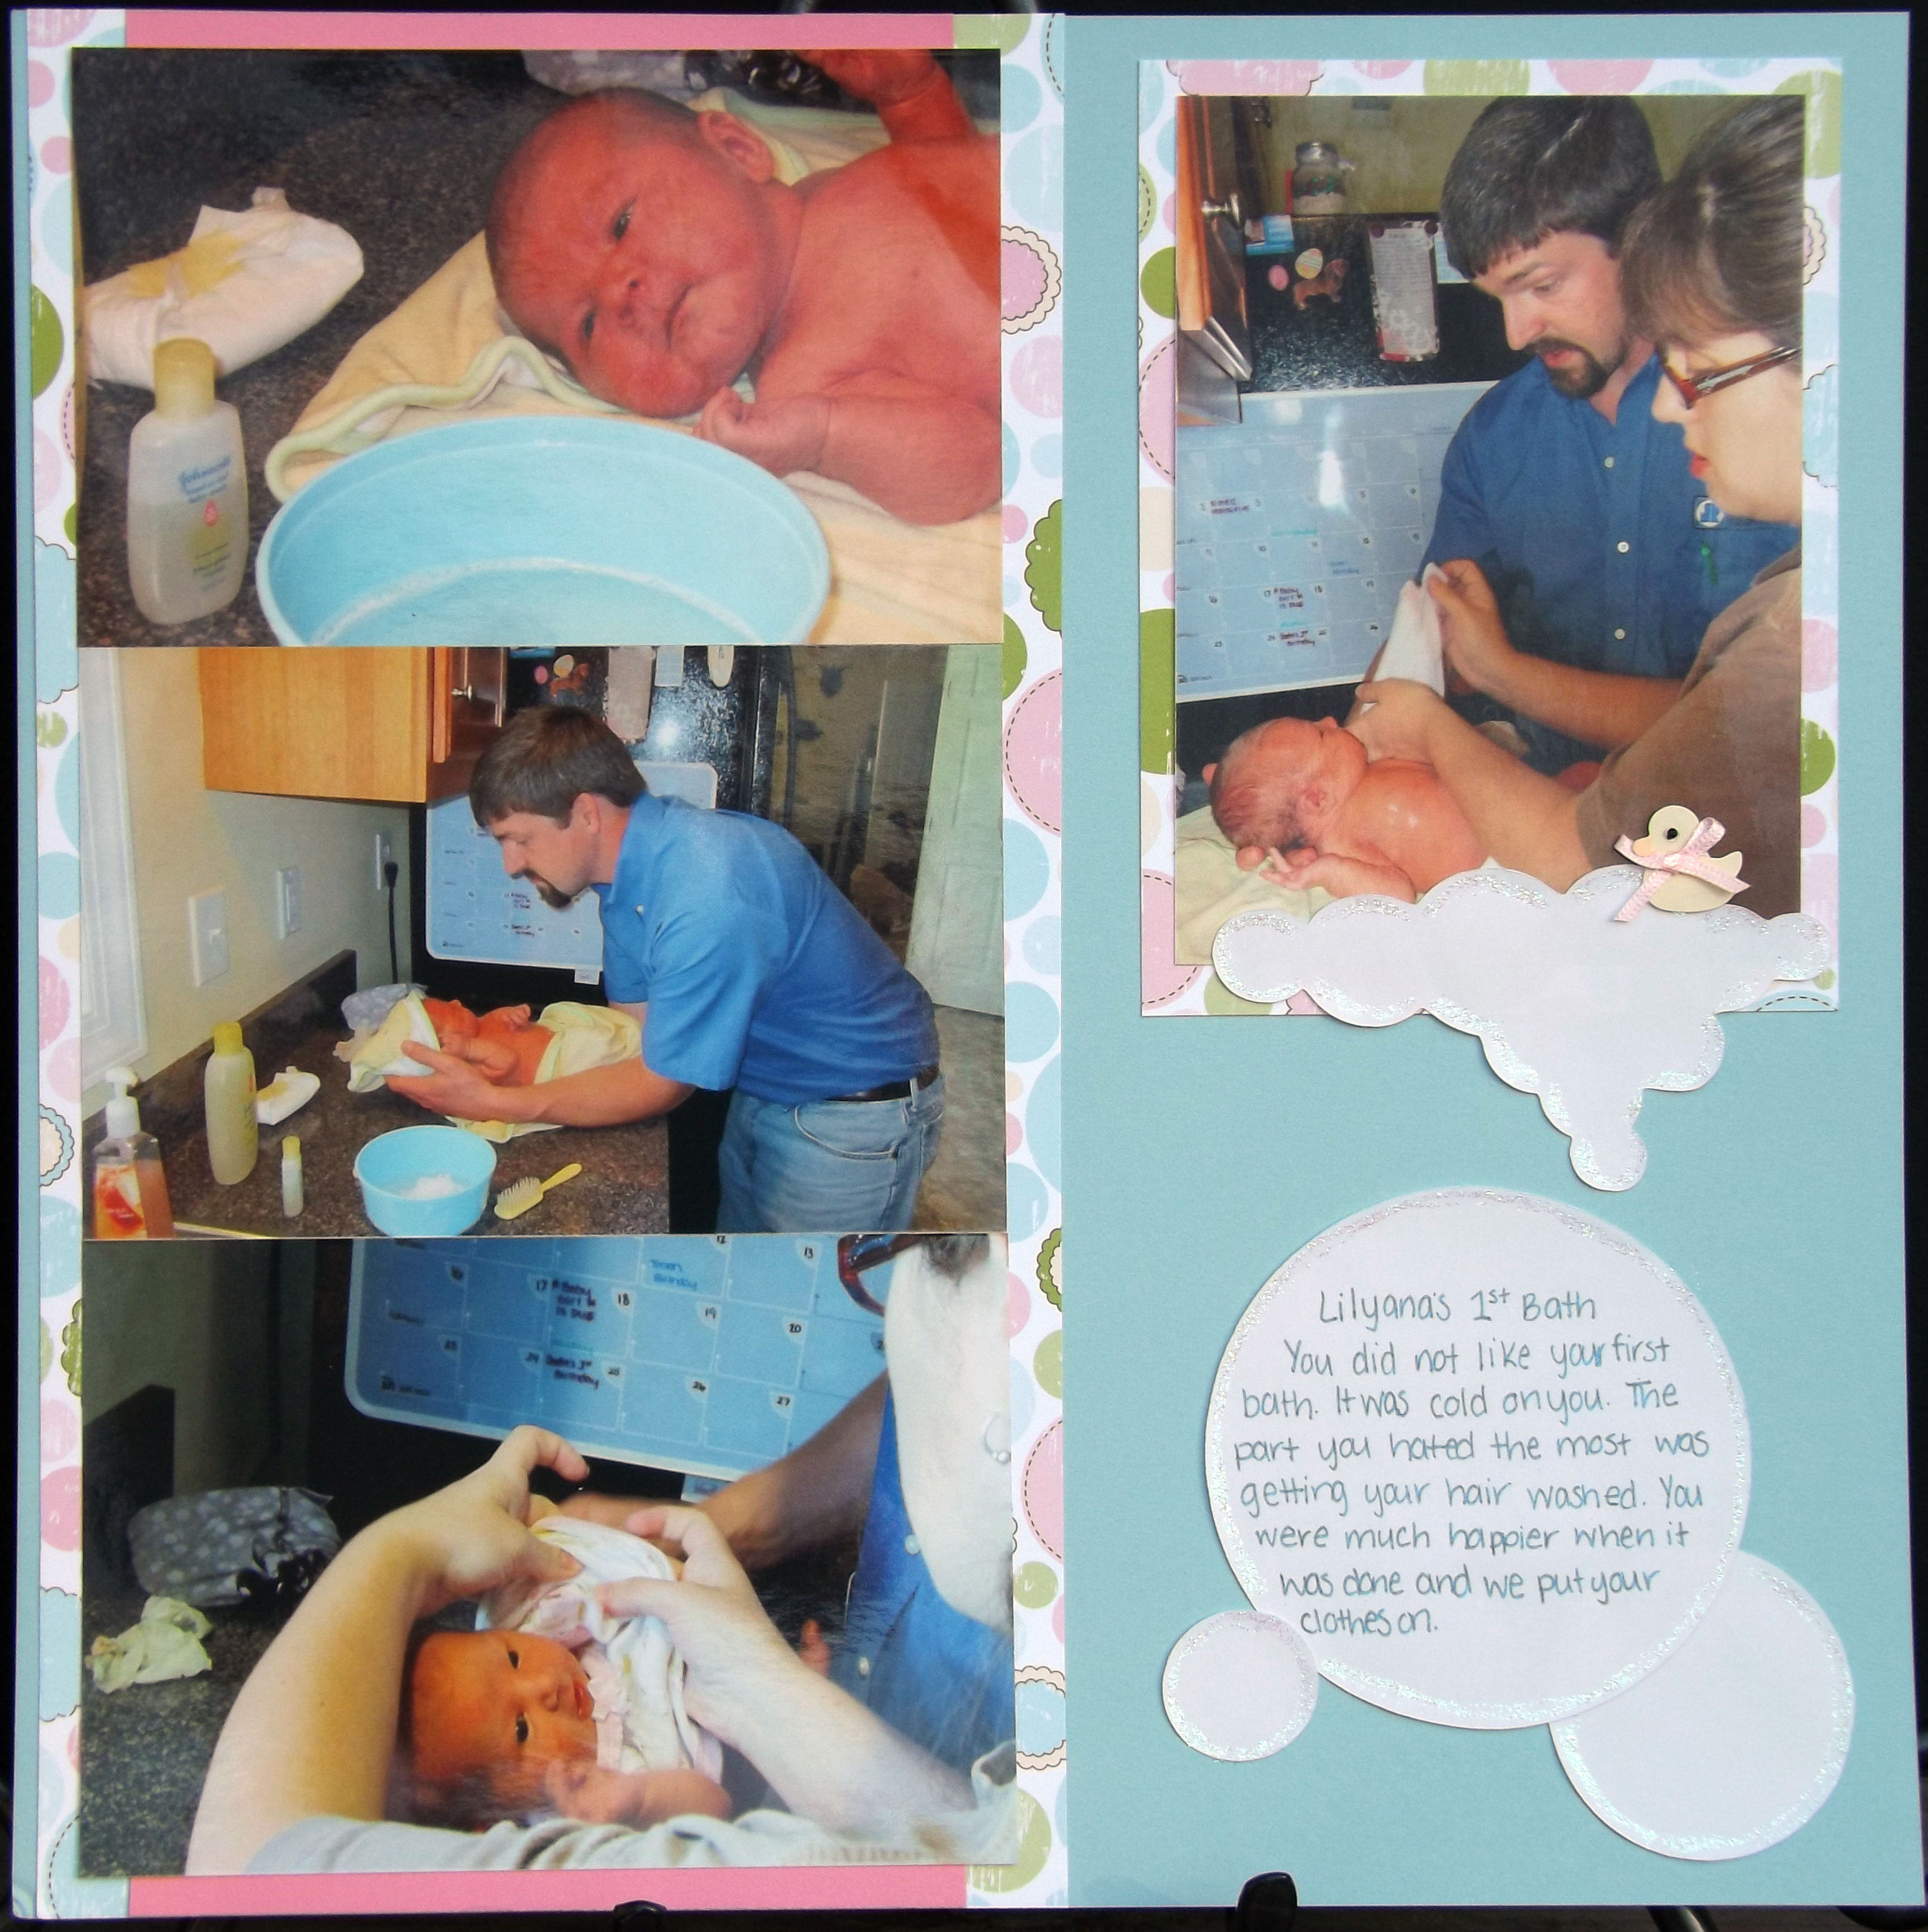
Bath Time Page 2
I used Recollections solids and the pattern paper is from my older papers, so I am not sure who they are by.

Title Close up
Here a close up of the title, I took I white gel pen to make the bubbles white on the writing as well as add Stickles for a little glimmer.

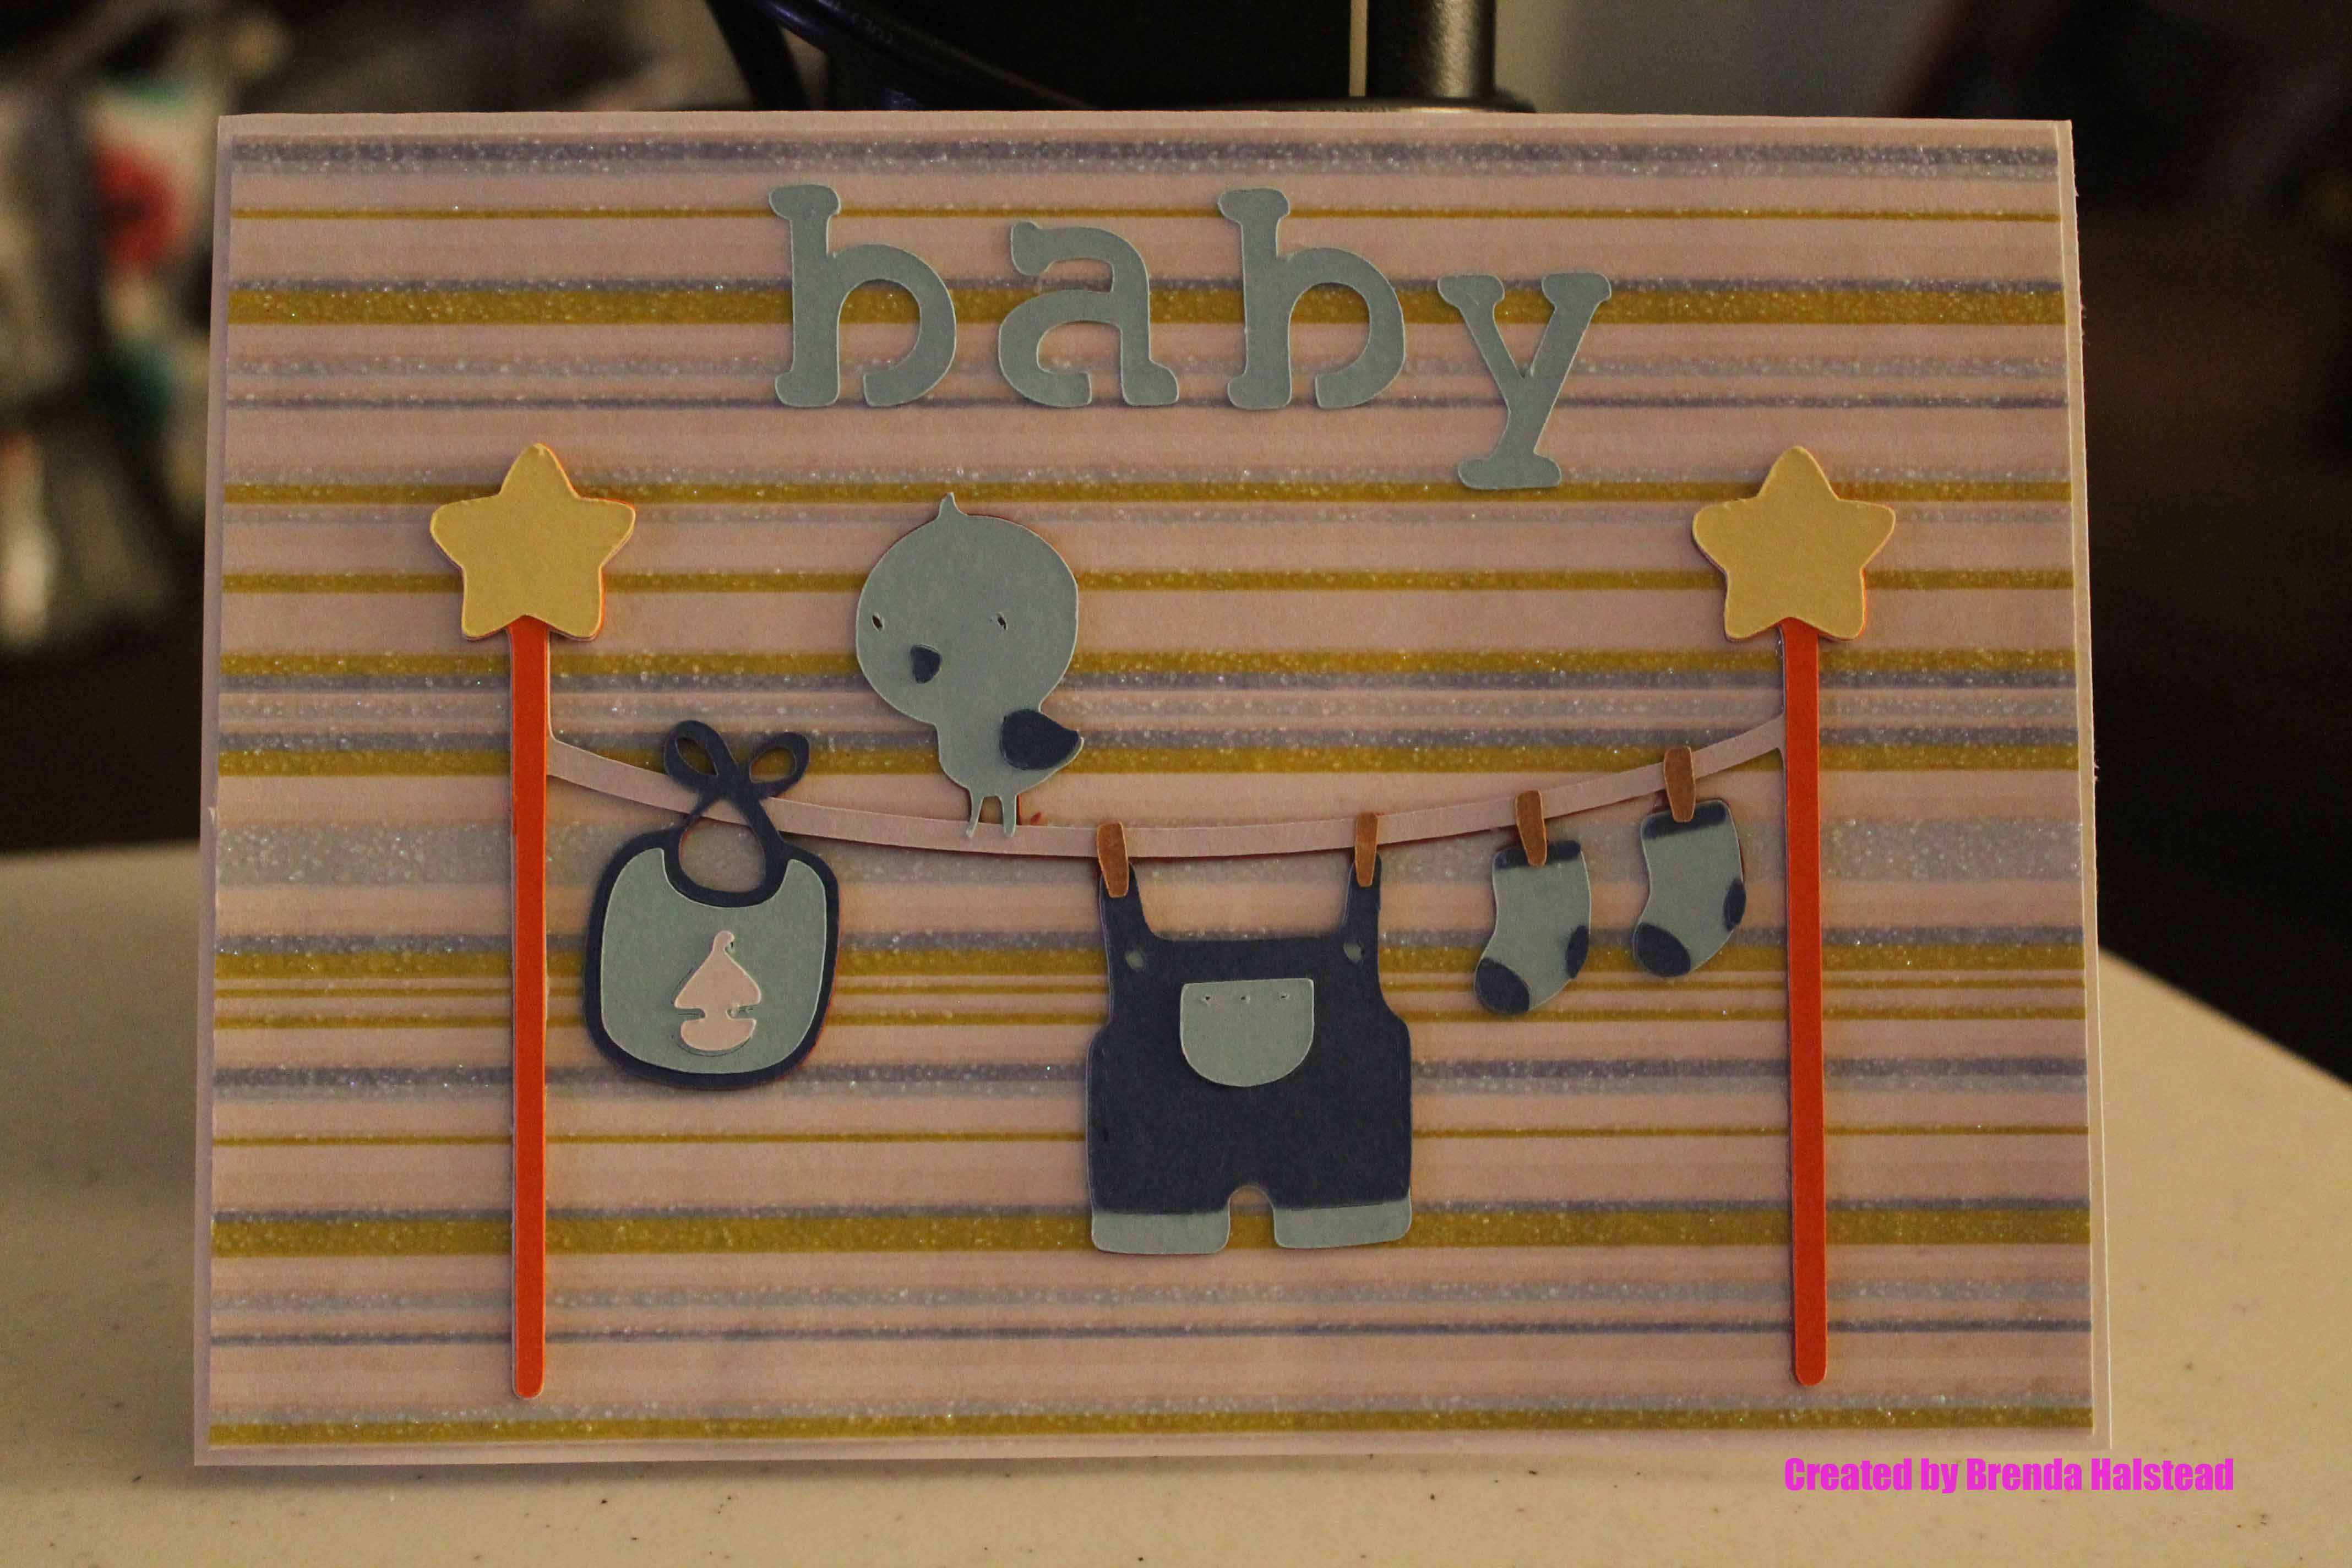
baby bath
I cut out a cute baby girl in a bath tub and I used Peachy Keen Stamps for the face. I love these stamps it really helps to put personality into our creations. The rubber ducky is from a set of leftover stickers.

bubbles close up
On page two I wanted to detail so I put bubbles coming out of the picture with some added Stickles and a rubber duck sticker.

journaling
I added larger bubbles to the bottom of that page for my journaling, so it went with my theme.
Thank you for checking out my post and I hope I have inspired you.
Designed by: Sierra Heath
Cricut Machines & Tools Used: E2, Cricut Craft Room, and Cricut Tool Kit
Cricut Cartridges Used: Baby Steps, New Arrival
Other Supplies Used: Stickles, stickers, Peachy Keen Stamps: Basic Paper Doll Face