60th Birthday Easel Card

Hi all! Michele Green here from www.michelegreen.com. Today I am sharing with you a card I recently made. This is the first easel card I have ever made and I LOVE it! These are so easy to make and a lot of fun to design!

This card celebrates the 60th birthday of a very special woman, my mom.

The card measures 4″x4″. It started with one 4×12″ piece of black cardstock. The simplest directions for an easel card can be found HERE. From there I knew I wanted to use paisley so I stayed with silver, white, and black for my card.

The white background shape is cut from Paper Trimmings at 3″. The 60 is from Theresa Collins Sophisticated cart at 3.25″.

Image

I threaded this Recollections Paisley ribbon through the numbers to bring the whole card together. I created the bow by using a brad and poking it through the ribbon as I folded it over. I used glue dots to adhere it to the page and also in between a few of the layers to get it to lay right.

Image

When you open an easel card, there will be a space that you can only see when the card is all the way open and a place that will be part of the display. It looks like this when all the way open:

Image

I chose to use the upper portion to write my sentiment and the bottom portion, which will be displayed to put this awesome Pink by Design stamp! You then put a brad or button or something to hold the top portion of the card up. Mine looks like this:

Image

And from the side an easel card looks like this:

Image

I hope you have enjoyed this card – I did! 🙂 Easel cards are much easier to make than they appear so I suggest you try one if you never have! I know I waited way to long to try this myself!

T-Shirts using vinyl on the Yudu

Hi all! Michele Green here from www.michelegreen.com. Today I am sharing with you my recent experience with the Yudu machine. My husband has a family member who is starting a business of being a hunting guide. As a surprise, my husband wanted to give him some t-shirts.

I will tell you that we were mightily intimidated by this machine and all of it’s instructions. My husband started out by watching some YouTube videos of the process and picked one he wanted to follow. He started the process of the emulsion application and drying and it was a failure. The emulsion wasn’t drying properly and it was frustrating to say the least.

I began researching other ways to use the Yudu and I remembered that a crafty friend had used hers successfully a lot of times. I found this excellent tutorial HERE (down at the bottom of this post) on her blog, With Glittering Eyes. We followed it almost exactly so I’m not going to rehash every step here but I will show you some pictures of along the way. Nadia is a genius!

I began by designing the t-shirt logo on my Gypsy. I used the mama bear with cubs from the Cricut Lite Cart Wildlife.  I made the design backwards so that it will stuck to the bottom side of the screen. I cut it using my Expression and the KISS cut which is 3-3-3. Because I was cutting from my Gypsy, I actually cut with a speed of 1 instead of 3 because you just never know with the Gypsy 🙂

GBK1

The next step was to weed out all of my design. Be careful to not throw away the middles of the e’s and other vowels!

GBK2

Then we applied to the vinyl to the underside of the screen and put painter’s tape all around it to seal it in. Anything that is not blocked with get ink on your t-shirt. The only part left open for ink to go through should be your actual design – in this case the bears and lettering.

GBK3

This is what the screen looks like when it is on the Yudu (red shirt underneath).

GBK4

I don’t have pictures of us doing the screening because for us it was a two person job. I’m not sure if it’s just our Yudu or all but the top didn’t stay all the way down so one person held the top down while the other pulled the ink through. We used official ProvoCraft Yudu black ink.

The first one took a lot of ink to get the design onto the shirt but we also think we were losing a lot of ink onto the sticky side of the painter’s tape. Everything after that first one went well. We printed eleven shirts and didn’t have any problem with the vinyl. The best part was clean up – just pull all of the vinyl and tape off and rinse the screen – done! No emulsion to worry about getting off.

GBK5

After the t-shirts had air dried while we cleaned up, I heat set them with a hair dryer first. Because this was our first attempt and we were giving them to other people, we also then ironed them for 6 minutes each. My husband kept one and we have washed it multiple times and the ink has stayed put and has not faded at all.

Here are a majority of the shirts we made. We did all different colors. The two green shirts are little kid shirts!

GBK6

(The top two were made with just cardstock actually but that’s another post for another day… Definitely not as awesome as the vinyl.)

The Yudu sure was scary with the emulsion but the vinyl was a cinch so I wanted to share that with all of you! Thanks for stopping by today!

School Mini Album

Hi there and welcome! On the heels of the fantastic mini album posted by Lori on Monday, I have another mini album to share with you! This mini was created for our in-home daycare caregiver as the end-of-the-year card from all of our families. Each year I make her something and this year I went with a mini album.

Image

This mini was made with my Cricut Expression and a regular cutting blade. I used a thin cardboard for the base of the shapes. I put my blade length on 4, pressure max, and multi cut 2. I’ve never had any problem cutting chipboard (or food boxes) with this setting.

Image

I used papers from the DCWV Grade School stack. I like to stick to one stack for these sorts of projects because while the papers can be greatly different, they all fit together somehow. Each shape had a paper cover the front, which matted the photo and a piece cut using the flip setting for the backside of the shape.

Image

I then chalked the edges in black and sealed them with Glossy Accents and added a sprinkle of white/clear glitter for fun.

Image

If the shape had an available place, I put the picture there, if not, I tried to make it fit with the shape as much as possible. Here is my daughter’s page, which was the most difficult, getting the star shape to work with a 4×6 photo.

Image

The last shape was a notebook page and served as a place for me to write our thank you note.

Image

The shapes I used were:

Crayon 2 – Locker Talk – 6″
Pencil – My Community – 3″
Puzzle piece – My Community – 5″
Star – Doodlecharms – 6″
Glue – Locker Talk – 6″
Backpack – Doodlecharms – 6″
Apple – Doodlecharms – 6″
Notebook page – Locker Talk – 6″

I hope you have enjoyed my mini and if you have any questions, please ask in the comments and I will try my best to answer!

Be sure to visit my personal site, www.michelegreen.com, if you would like to see more projects, most recently 31 layouts in the 31 days of May!

What it means to love you layout

Hello! Michele here to share a layout with you today. This is my very first post on CricutDIVAs and I am excited to be here! Today’s layout features my daughter and why I love her. I hope this will become a cherished page when she thumbs through the old books when she is an adult. Scrapping is about preserving memories and telling our stories. I hope she enjoys this one about her – just her and nothing else.

Image

The Cricut cuts involved here are:
The title is the font on the Cupcake (a Lite cart – if you haven’t checked out this font, you are missing out big time!) “what it means to you” was welded and cut at 0.75″.  “love” and it’s welded shadow were cut at 1.05″.

The flowers are two variations from Hello Kitty Greetings and were cut at 2″ and 1.3″.
The circle tag is from Doodlecharms and was cut at 1.6″.

To get these sizes just right, I pulled out my Gypsy. I haven’t used it in awhile but it fired right up and connected with my Expression just fine. (I have not attempted to update it recently or link it to CCR at any time. In fact, it’s probably been at least six months since I turned it on!) Don’t you just love how you can make all of your cuts at once on the Gypsy?

Before cutting:

Image

After cutting:

Image

Here is a close-up of the journaling, in case you are wondering what it says:

Image

One last little trick for you. I tied a simple knot around the tag at the bottom of the layout.  To keep it simple and not create bulk with an additional piece of ribbon, I simply sliced the end of the ribbon in two, threaded it through the hole and tied a knot around. This keeps the bulk down in the page protector.

Image

I hope you have enjoyed my first layout here on CricutDIVAs and I hope you will keep coming back for more!  Feel free to visit me on my regular blog where this month you will see a layout each day as I am participating in Lain Ehmann’s Layout a Day in May 2013!

New DT Members

Melody Lane

melody1

My name is Melody Lane. I have 3 crafty rooms in my home, a sewing room, an art (painting) room and my paper/clay craft room.

I live in Kankakee, IL — an hour south of Chicago.

I got started in paper crafting when I bought my first Cricut at JoAnns because I was quilting and bought it to cut fabric. I no longer sew much because I found I enjoy paper crafting more. I do not scrapbook, but enjoy making cards and decor items. I love making 3d items with my Cricut.

I have 4 Cricuts, including the original Cricut, the Cricut Expression 2, the Mini and the Cricut Cake, that I now use to cut polymer clay.
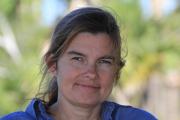
Daphne Shreiber

daphne schreiber

I am very happy to be joining the Cricut Diva Design Team. I am excited to be sharing all the wonderful things I do with my Cricut Expressions machine with all of you.

I live in central Florida with my two sons and wonderful boyfriend. We recently moved to the home we are now in. I made sure that I would have a craft room when we moved. I have spent the past couple of months reorganizing and purging so I could fit into my nice new space. I will be sharing photos of my new space on my blog during the month of May. I homeschooled my children for 15 years. But my youngest decided he wanted to go to public school when we moved. He is now in high school and doing FANTASTIC! He is in honors classes and getting all A’s and B’s.

I have been crafting all my life. My mother was into dabbling in all kinds of crafts, so I come by it genetically! I invented and manufactured a line of crafting organizational products named ScrapCessories. During these years, I got involved in several Design Teams and fell in love with several wonderful products. I was involved with Above Rubies Studio during her early years and was included on the 123 Cards and A to Z Imagine DVDs.

Two years ago my life went through a major change and I had no inspiration to do any crafting. Then a year ago I met the wonderful man that I now live with. He has brought back to my life things I had pushed aside in the 25 years before him. We get out and kayak, hike and enjoy nature. My boyfriend is an amazing amateur photographer. I enjoy making layouts and wall decor using his amazing photography. My new life has re-inspired me to get back into all the crafting that I love to do! I hope I will inspire you in some way to get out there, enjoy life and get crafty!

Brenda Halstead

brenda

My name is Brenda Halstead and I live in Toledo, Ohio.  I have two wonderful children – a 24 year old daughter Beth and a 19 year old son Andy. I also have two wonderful grandsons – Ethan who is 5 and Benjamin who is 8 months old. I also have a granddaughter due August 3rd. I am employed full-time as an Office Manager for an insurance consulting firm.

I got started in scrapbooking in August 2000 after attending a Creative Memories class. I bought the biggest kit available and have been hooked ever since! My scrapbooking style sure has evolved since then, especially after the Cricut came into my life. A couple of years ago I was introduced to Close To My Heart, and I liked it so much I became an Independent Consultant.

My favorite paper crafting projects are scrapbook layouts, cards and invitations. I used to be intimated by the entire card-making process, but once I started, I wasn’t able to stop!

I own a personal Cricut, Cricut Expression, Cricut Expression 2: Anniversary Edition, Gypsy and Cuttlebug, as well as a Cricut Cake, Yudu, Yudu Card Maker and YourStory (which have all been sitting in their boxes waiting for me to learn to use them).

I used to do a lot of cross stitching and crocheting, but since scrapbooking came in my life, they have been put on the back burner. I also enjoy reading, cooking and baking.

I’m excited to be part of the CricutDIVA Design Team!

Please visit my blog at https://happyscrapper64.blogspot.com/
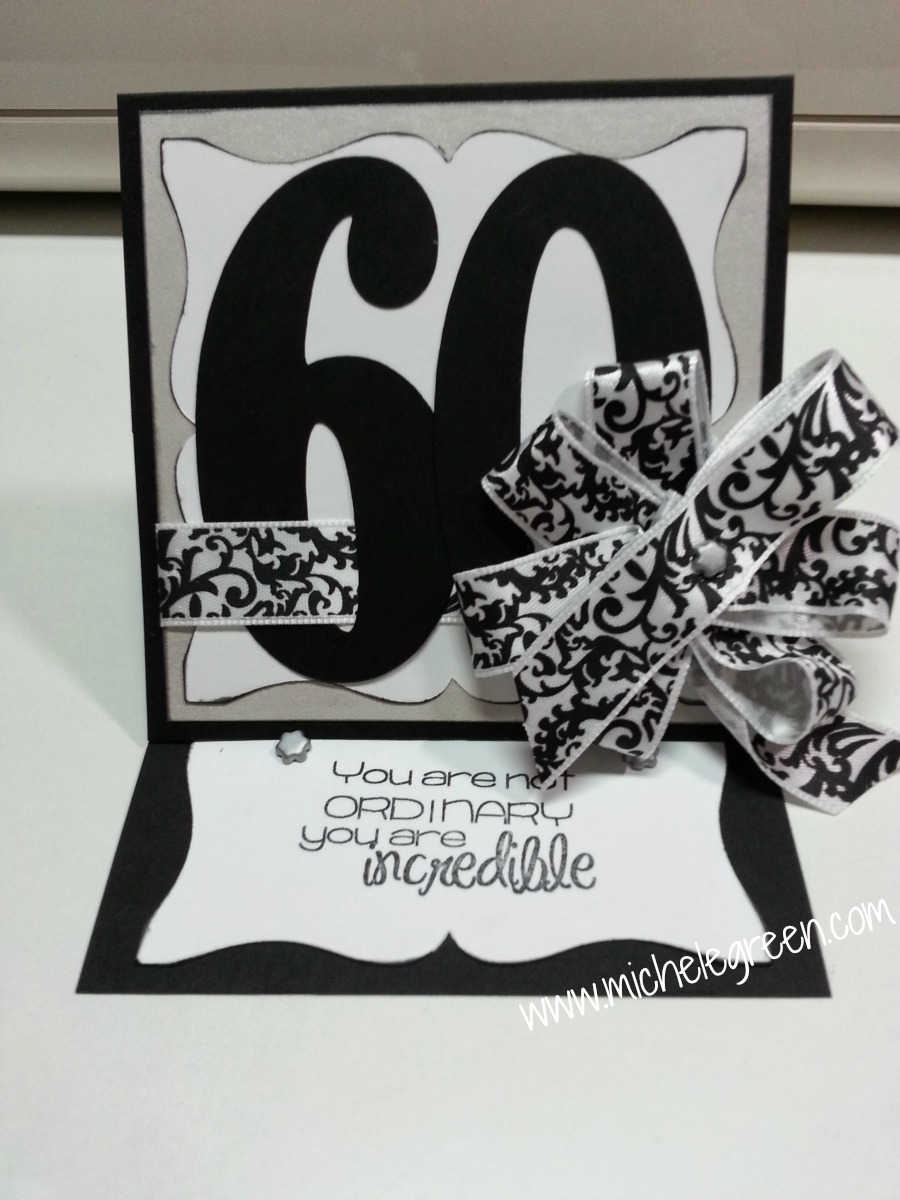
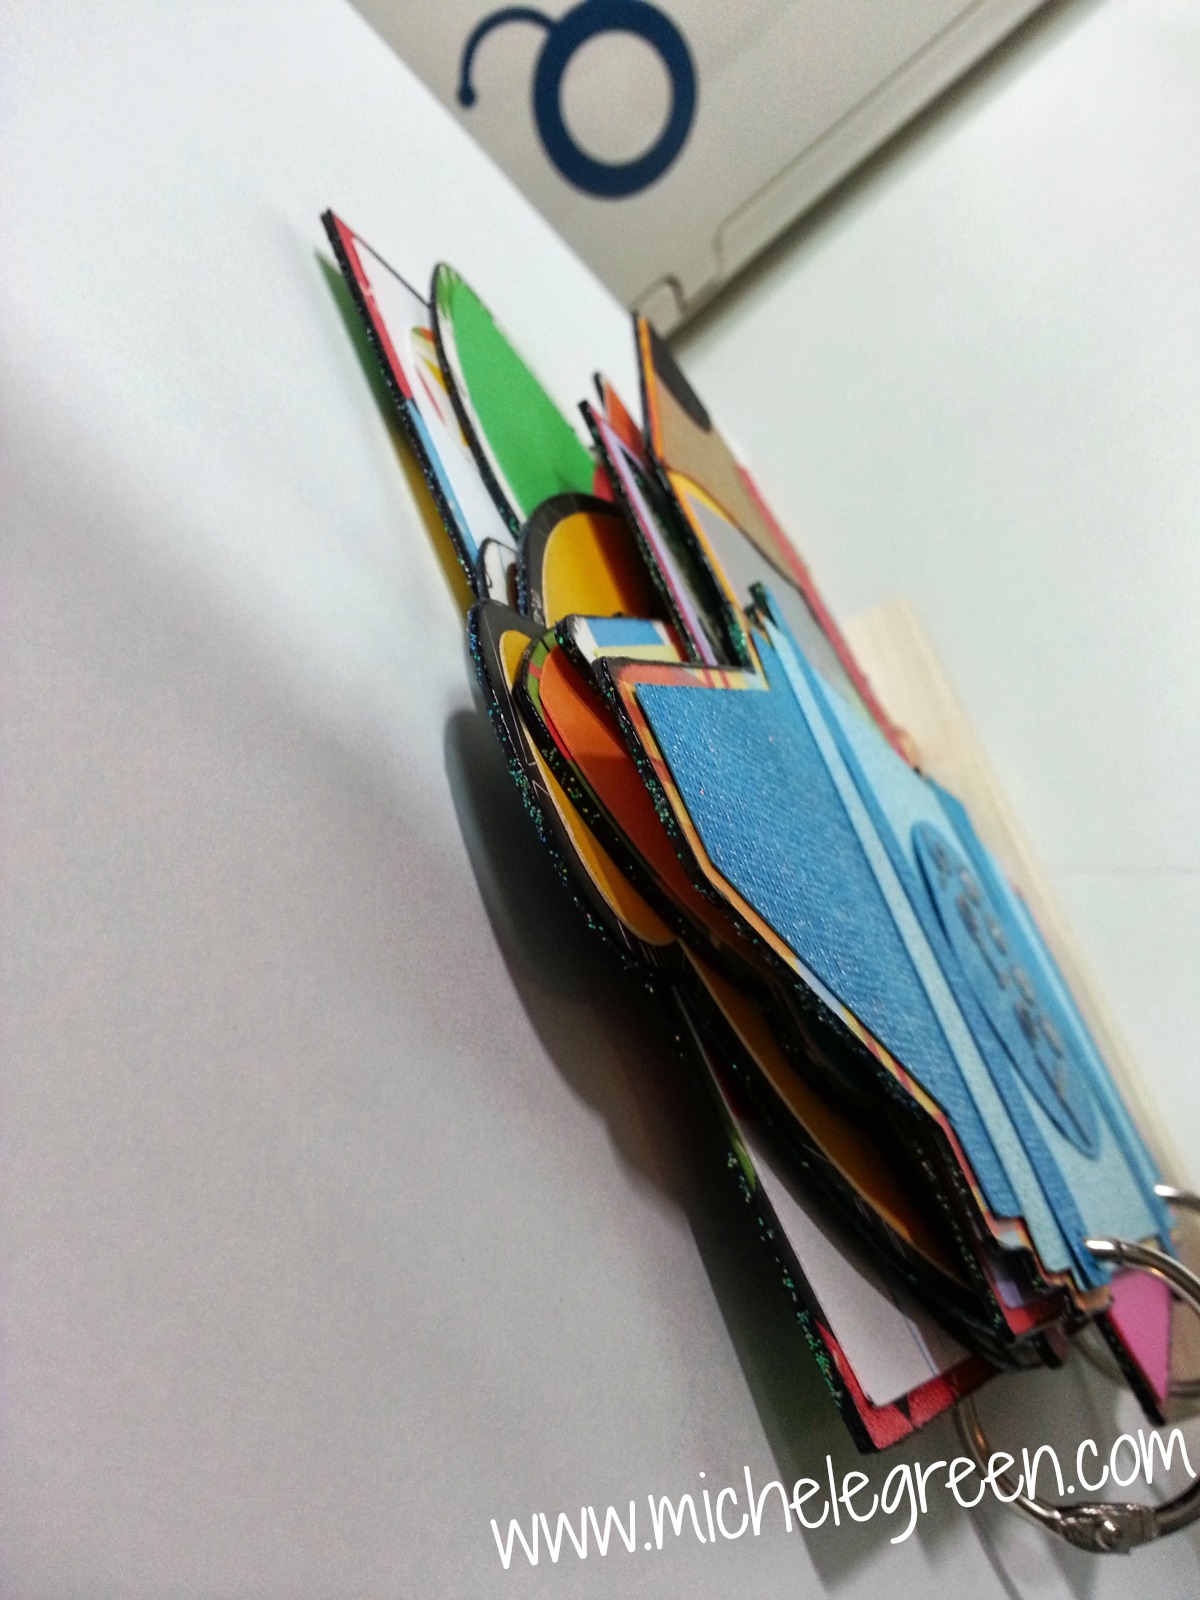
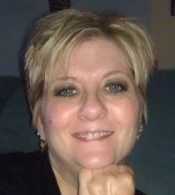
Michele Green

MGreen

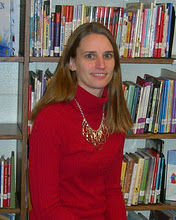
Hello!  My name is Michele Green from and I am very excited to be joining the CricutDIVAs!  I am married and have two daughters, ages 10 and 4.  Our family is an inseparable unit who even does the boring stuff together, like grocery shopping.  We live in Eastern Wisconsin and enjoy many outdoor activities, such as fishing, four-wheeling, softball, soccer and more.  I am an Instructional Resource Coach by day (think librarian and technology coach mixed in to one job) at the elementary level.  I absolutely love to read and to help teachers and students integrate technology into their learning so it’s the perfect job for me!

I began using Cricut for my school bulletin boards in 2008.  My husband bought me a Cricut Expression for my birthday that year and it is still my favorite machine!  I also have the Imagine, as well as the Cuttlebug, YourStory Photo, and Yudu (still in the box – yikes!).

My absolute favorite crafty thing to do is to make layouts that tell my family’s story. I also make cards, projects for school, gifts, etc., and I dabble in altering things.  I enjoy the time I get to spend crafting, as it is very relaxing for me and truly cheaper than I imagine therapy is!  My style is what I call “basic”.  To me that means I stay pretty middle of the road with my scrapping.  I don’t venture off into grunge or vintage or steam punk.  I don’t use a ton of one certain thing and hang my hat on it.  I am certainly not a professional but I do my best and love to share it with others!  I hope you will enjoy the creations that I share here on the CricutDIVA Design Team!

Please visit my blog at http://www.michelegreen.com/