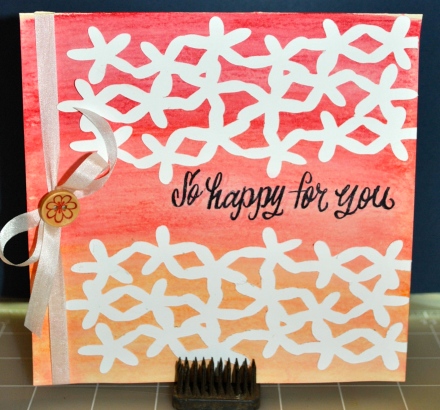
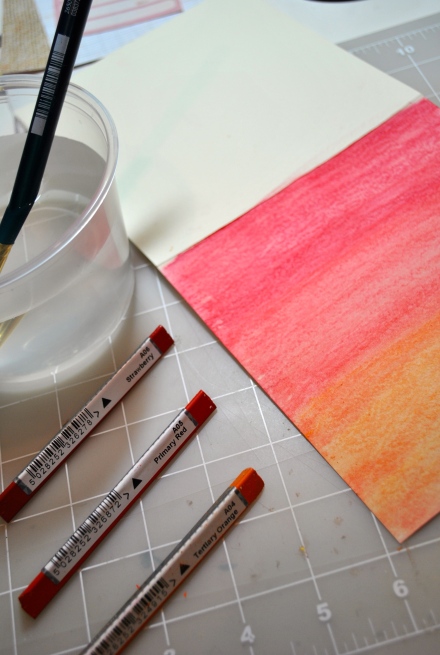
Happy saturday everyone! Today I have two cards for you that I made for my daughter and my niece. Both of them had some exciting things happen to them recently and I wanted to send them a little card to recognize their achievements. I used a technique using Art Bar crayons. I tried to do an ombre watercolor background with a screen layer on top.
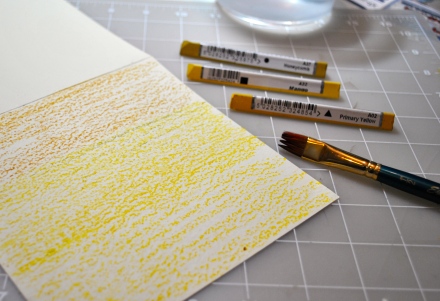
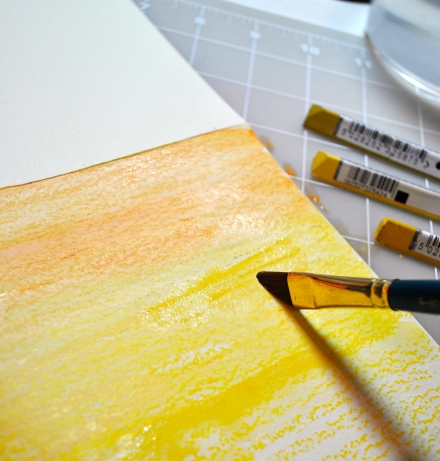
For the card bases I cut a 6″x12″ card stock and folded it in half. On the front of the card I colored it with the Art Bar Caryons (you could use Gelatos) Use water to dilute the color to blend.
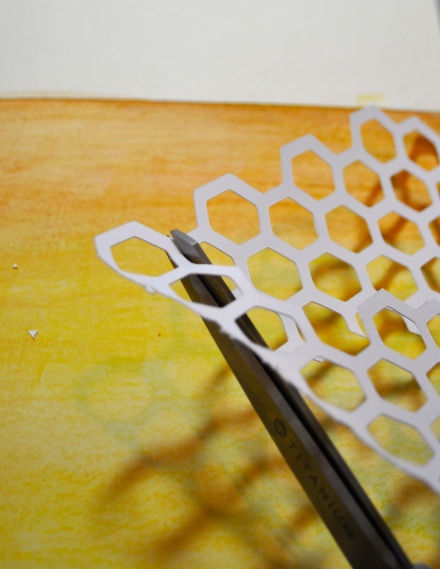
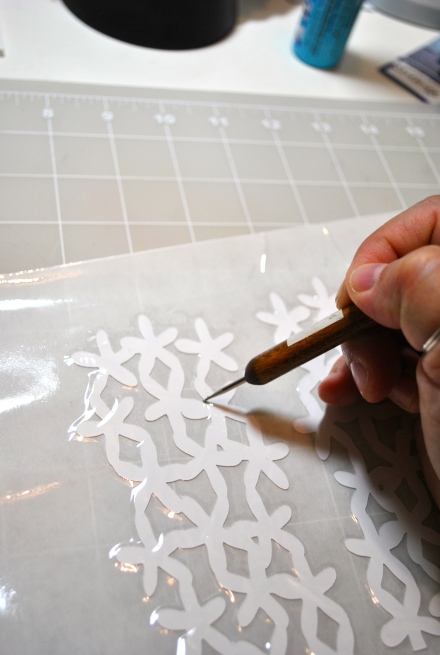
Next I cut the Layering screens with my expression2 and the CCR (Cricut Craft Room). I used smooth bazzill card stock . The 1st image I used is from the PaperDoll Dress-up cartridge it’s on page 78, The Border Blackout. I used three of those image with the middle one flipped and then I nestled them together so that I could weld them to make one piece. The measurement was about 5.7x 2.6 and then I copied and pasted another image because I used two of them.
For the 2nd card I use the CCR exclusive Teresa Collins Basic images. The measurement I used was 5.6×5.6 and I cut it into pieces I liked for the card.
After my e2 cut my images I ran them through the Xyron to add the allover adhesive. I like to go over the edges so that there isn’t any adhesive left on the edges. I have an old Xyron and I feel like I have to do this step. I don’t know if the new machines leave excess adhesive on the edges.
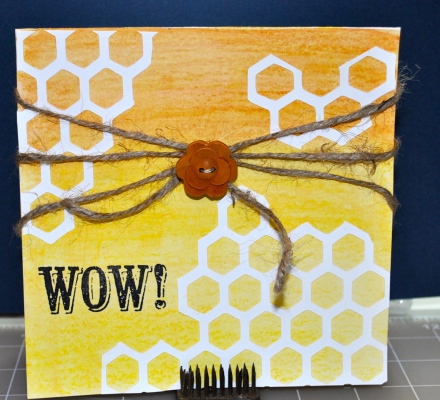
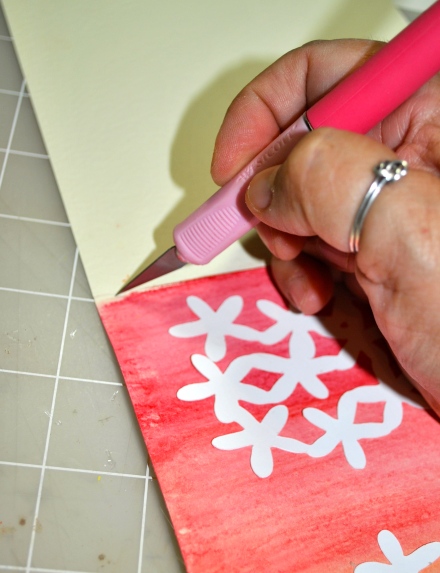
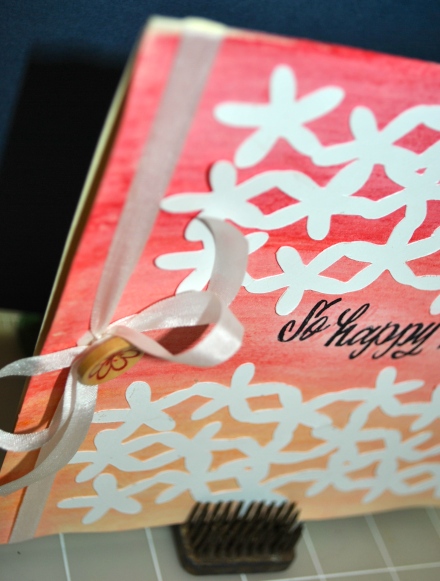
After I set the screen layer where I want it I stamped them. The red card I stamped with one of my favorite stamp set called Grand Greeting from Lawn Fawn and the Yellow card I use a stamp set that I got at Michael’s in the clearance bin. That set is from a company called Ditto. On the red card I made a slit on the upper left side of the card right on the fold so that I could thread the ribbon through it.
and tied my bow and placed my button.
With the Yellow card I used jute and a wood button.
The last thing I do when I make cards is sign them and I use this stamp that I got at an expo. It’s from Endless Creations I like it because I can also cut it with the 1 1/4″ scallop punch. How do you sign your cards?
 \
\
Thank you for stopping by today. Have a wonderful & safe holiday weekend!
Creating and Sharing, I invite you to visit my blog
Designed by: Liz Mullen
Cricut Machine and Tools: Expression 2 Anniversary Edition, CCR
Cricut Cartridges: PaperDoll Dress-up cartridge, Teresa Collins Basic images, Grand Greet
Other Supplies Used: Art Bar crayons, Xyron, Grand Greeting from Lawn Fawn, Endless Creations


