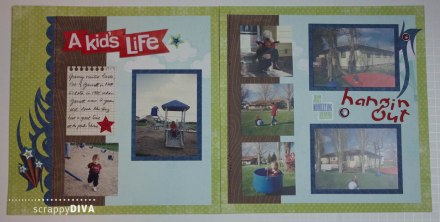
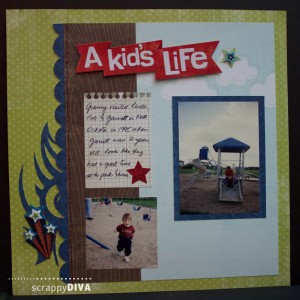
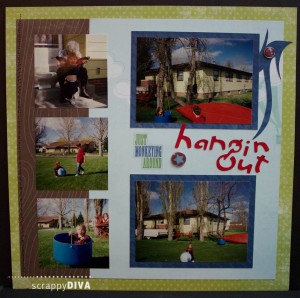
Two page layout spreads are my favourite of all because I usually have quite a few pictures for a given story.
This layout is no exception. While all this happened on the same day, my mom, sister and nephew were playing in different locations. The first page shows them at a playground and the second page shows them at home, in their backyard.
I used some ready-made embellishments on this page, but I also cut out several pieces with my Cricut.
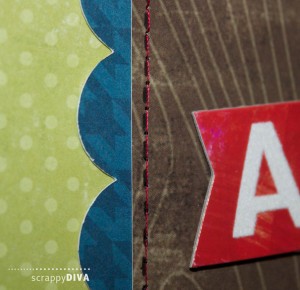
The scalloped border on the left side of the first page was cut with Plantin Schoolbook. I was at a crop when I worked on that part of the layout so I used my Gypsy to weld three pieces together to fit the length of my paper and cut it with my Cricut Mini.
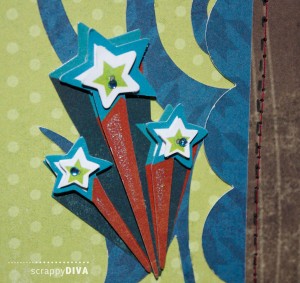
Indie Art is the cartridge I used for the decorations on the sides of the layout.
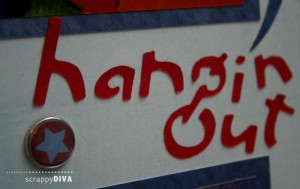
I used Locker Talk to cut out the words “hangin out” on the 2nd page. This portion I did at home after the crop so I used Cricut Craft Room on my Mac and my Expression 2 to cut it out.
The paper series I used was Lime Twist by My Mind’s Eye.
If you would like to see more of my work, please visit my blog at ScrappyDIVAblog.com or my YouTube channel.

